Any shop will have a plethora of stuff that accumulates over time. Mine is no different I suppose, except I usually acquire many of my major tools and equipment in some state of dissrepair or severe service wear. This is mainly due to frugality (I'm cheap and don't have unlimited funds) and sometimes because I want something better than the "crap" that today's equivalent money can by. I also have an affinity for the delicate craftsmanship that many older hand tools exhibit, much of which is often just cosmetic. But I'll save that for another page. Meanwhile, here's a sampling of my favorite shop POWER toys.
 |
 |
 |
 |
 |
 |
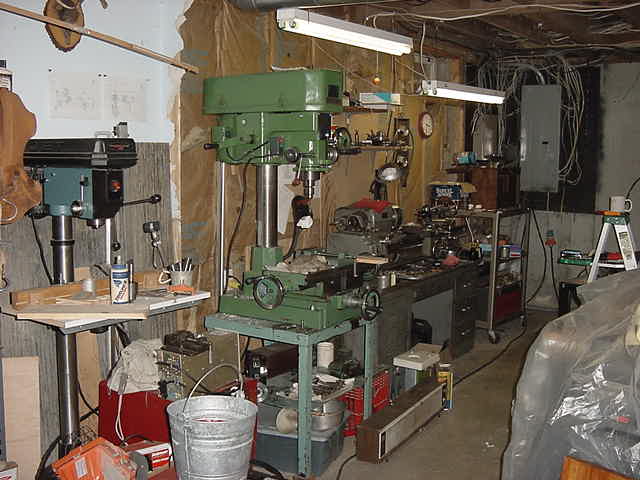
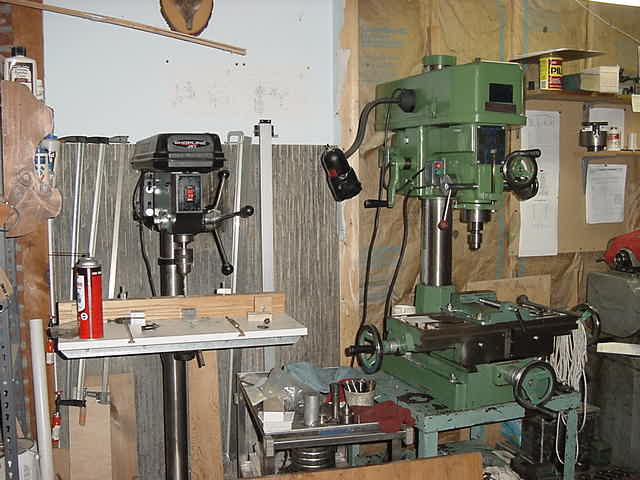
By far my most used (and useful) peice of machinery. |
 |
 |
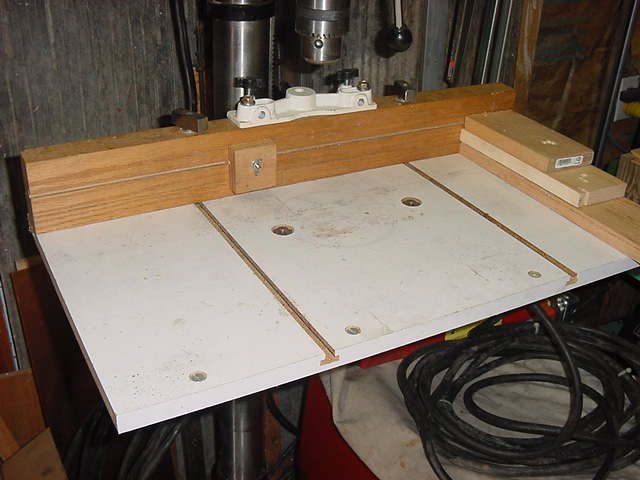
I strongly recommend to anyone owning a drill press to build one of these simple tables. The added table size offers support for average size workpieces and the adjustable fence is invaluable for repetitive operations along a common line. Additionally, you'll note a bracket on the fence which is use for a mortising tool attachment. Another useful extension of the drill press. |
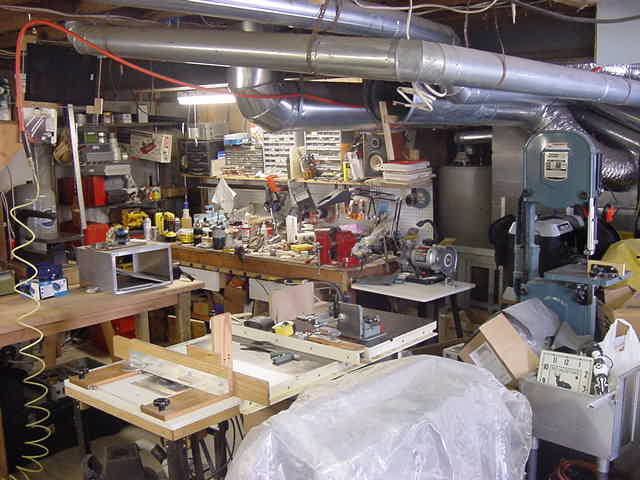
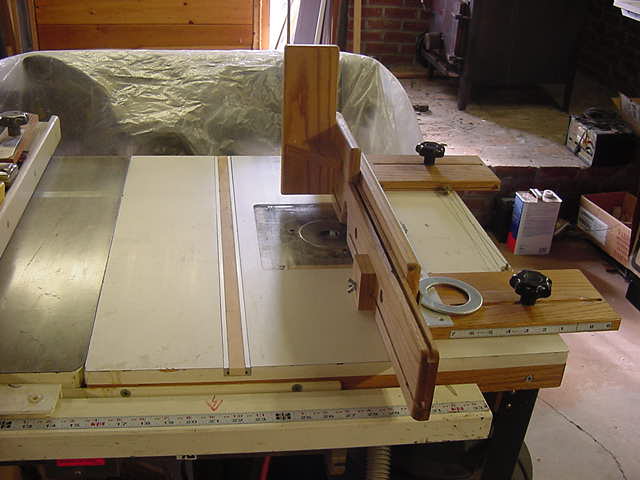
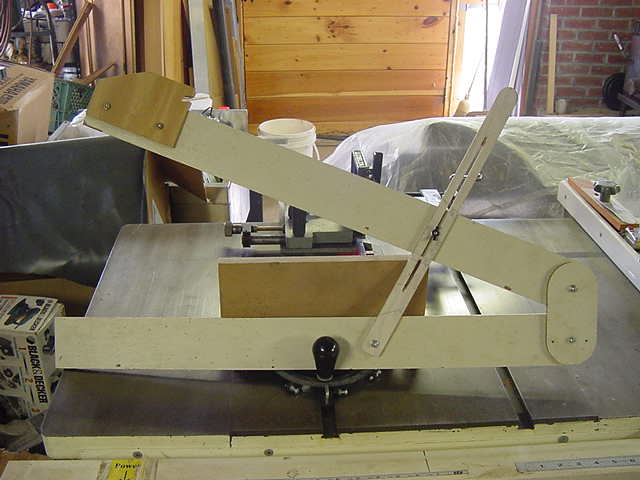
Given the prohibitive pricing of commercial router tables and fences I decided to make my own. This table mounts as an extension of my table saw top. An oak frame topped with a Melamine covered 1" top is the basic table. A 3/8" Lexan plate holds the router. Similar plates can be bought resonably cheap. The fence is the all important addition and should be well thought out. I would make a few small changes to this design if making another (like a fine adjustment wheel) but this works quite well. You'll note small T-slots for adjustable stops and a 90 degree guide to which work can be clamped for end work. You'll also note there's a lot of wood here as flex is absolutley intolerable. |
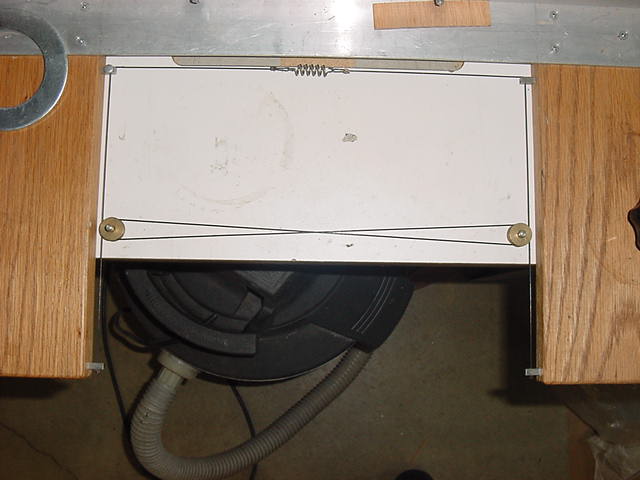 | |
When first working with this fance I quickly found that sliding and adjusting the fence was very cumbersome. Having to adjust one side, then the other, then readjusting my measurment. Uggh! The solution was this parallel cable attachment. These cables keep the fence from rotating when slid in and out, making adjustments quick, simple and reliable. The idea came from the parallel rule on my drafting table. I reversed the design by making the wheels stationary and the cables move but the result is the same. Once the paralell is adjusted the cables are locked in place by a set screw, visible in upper left anchor. The spring keeps everything snug and aligned. Lastly, and this is important; the wheels and their axle pins are easily pulled out of the table top, leaving a flat clear surface for occasional large edge work. Although that's rarely necessary. This is an awesome peice of gear to build and use. Many additional features can be conjured up as well. Bottom line is, unless you're OK spending a LOT of money, nothing beats building a good Router Table. |
This is very small sample of many jigs to which I'll add more over time.
 |
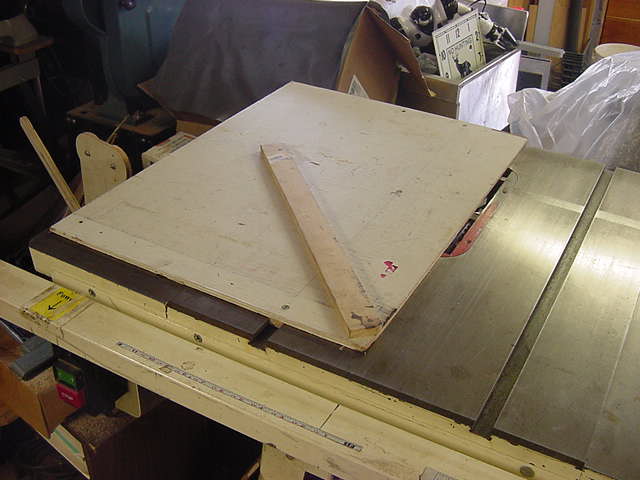 |
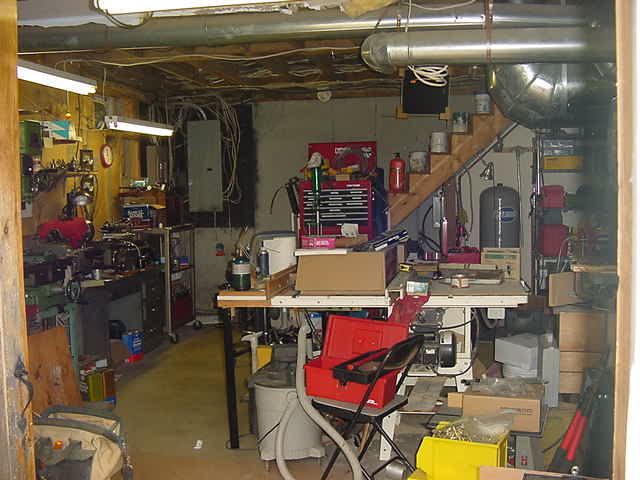
Accurate miter attachments are critical. For common angles (90, 45, 22.5, 60, ...) a sled like this very helpful. 1/4' metal dowels hold the fence (seen at 90 degrees here) on the sled at various angles depending on where you drill holes to adjust the fence. The greater the radius between these pins the greater the accuracy. This is a very good way to get easily consistent results. As an added benefit, the large sled protects wood surfaces from sliding on saw top and makes holding small peices easier to guide into blade. The additional "sister" piece to the right holds the cuttoff piece for large work and prevents some tearout as well. |
|
 | |
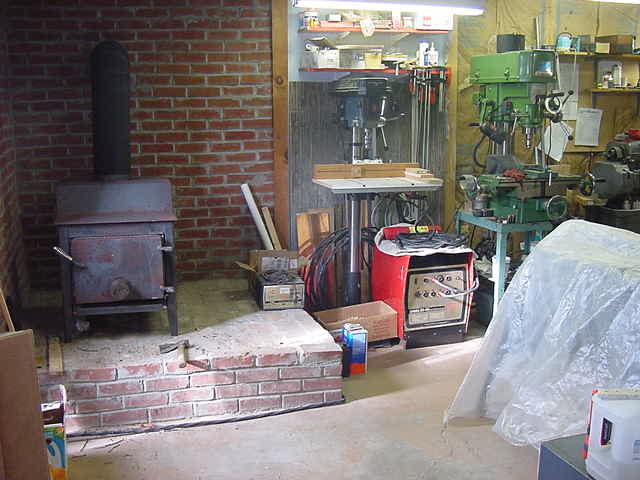
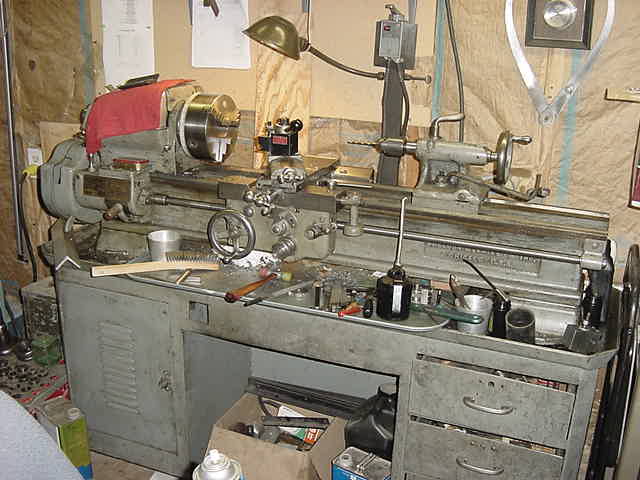
I particularly enjoy bringing forgotten and abandoned equipment back to useful life.
 |
 |
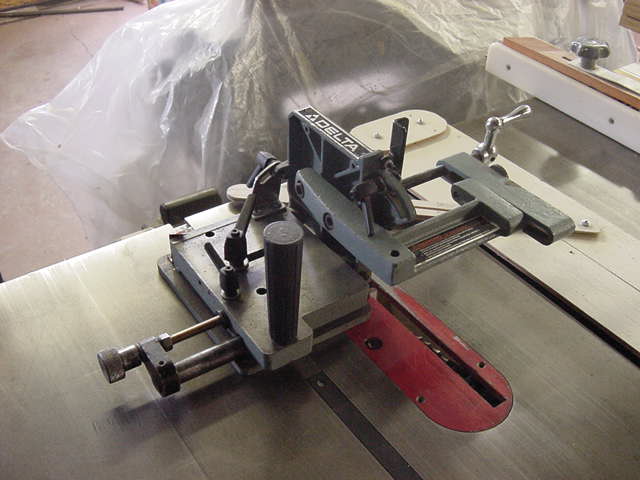
This is my most recent restoration. I picked up this very rusted saw at a tag sale for $10. It had seen a lot of use and a lot of neglect thereafter. After derusting (Baking Soda and Battery Charger method) and subsequent cleaning and rebuild, it works very, very well. It's stability alone is a pleasure, but it's also quiet and deep. The worst of this was the table angle adjustment protractor was severely damaged from operation without a washer under the locknut. I built up the zinc casting with "Alumna-Braze" and remilled it flat. | This gem was in a nearby barn. Very rusted, very worn bearings and chipped blades were all easily remedied. All I need is a replacment safety cap for the stupid power switch to be complete. After a tedious adjustment it works exceptionally well. Gotta love cast iron! |
 | |
Last, but not least, here is a link to my articles page for woodworking. Only one article on Machine Cut Dovetails is currently posted but I'm working on more.
That's it! I hope you enjoyed my little tour. Hopefully I gave you some ideas for your own shop. Now go make some sawdust and swarf.